


How to install an SSL/TLS certificate on Web Host Manager (WHM)
The instructions below walk you through installing SSL on Web Host Manager (WHM). If you have more than one server or device, you will need to install the certificate on each one you want to protect. If you have not generated your certificate or finished validation yet, see our CSR generation instructions and skip the steps below.
What you will need
1. Your server certificate
This is the certificate the certificate authority issued for your domain. It may have been emailed to you. If not, you can download it from your account dashboard by clicking on your order.
2. Your intermediate certificates
These files let devices connecting to your server identify the issuing certificate authority. There may be more than one of them. If your certificate arrived in a ZIP folder, the intermediates — sometimes called the CA bundle — should be in there too. If not, download the right CA bundle for your certificate.
3. Your private key
This file should be on your server, or in your hands if you generated your CSR with a free generator tool. On some platforms, such as Microsoft IIS, the private key is not immediately visible to you but the server keeps track of it.
Installation instructions
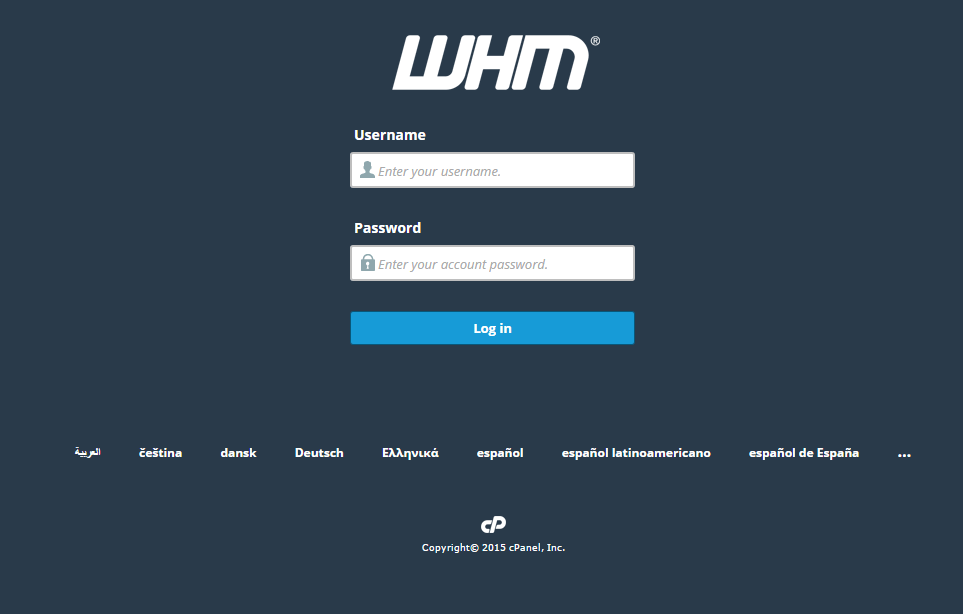
1. Log in to WHM
Log in to WHM , usually reachable at https://domain.com:2087.
Note: you may see "Your connection is not private", or something like it, when you open your WHM login page. That is because the login page uses a self-signed certificate by default. Ignore it and carry on past the warning.
2. Enter your username and password
Enter your username and password and click Log in.
3. Go to your home page
Make sure you are on your WHM home page.
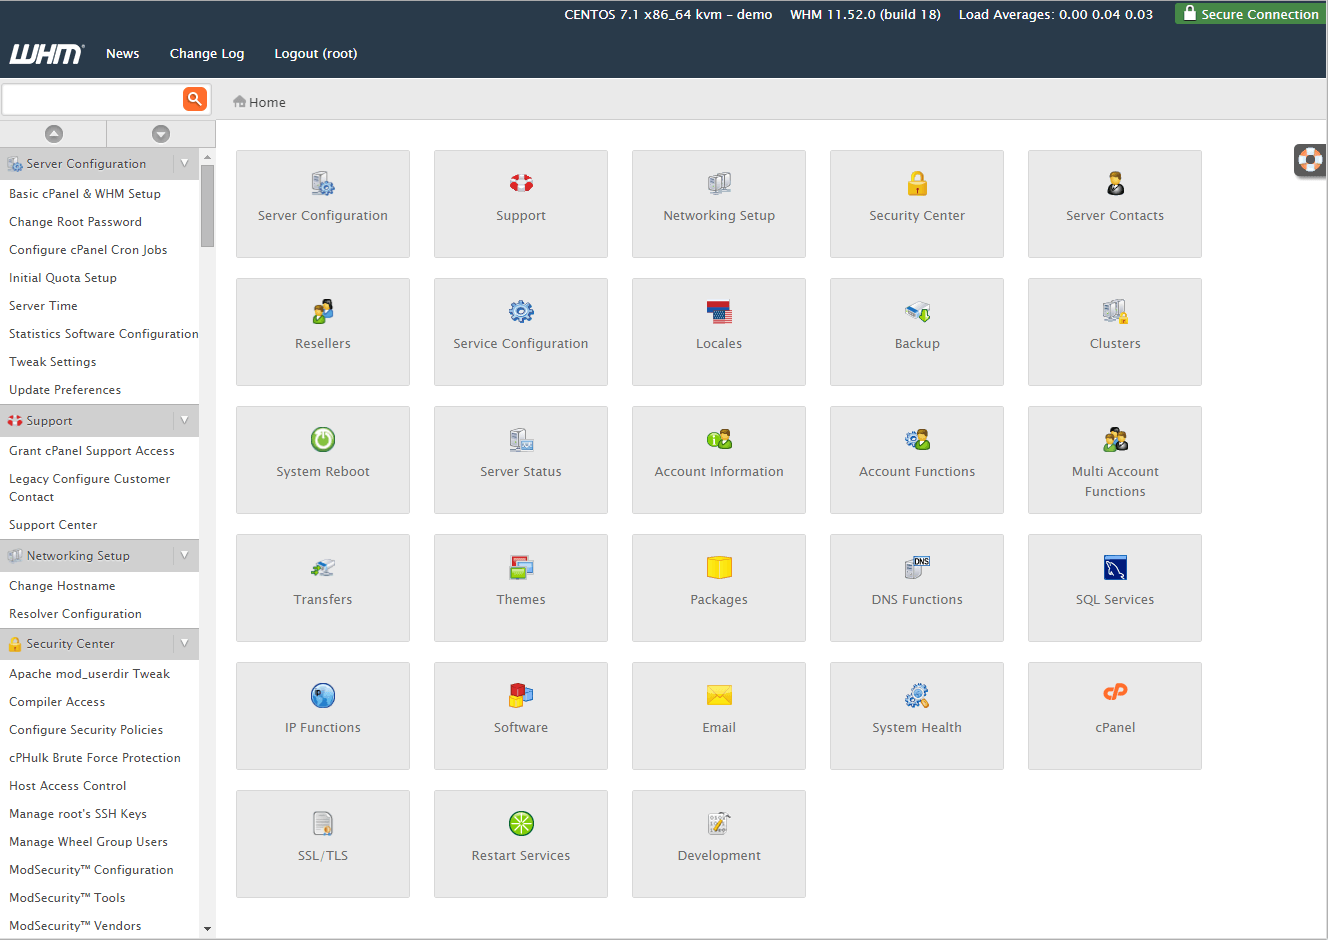
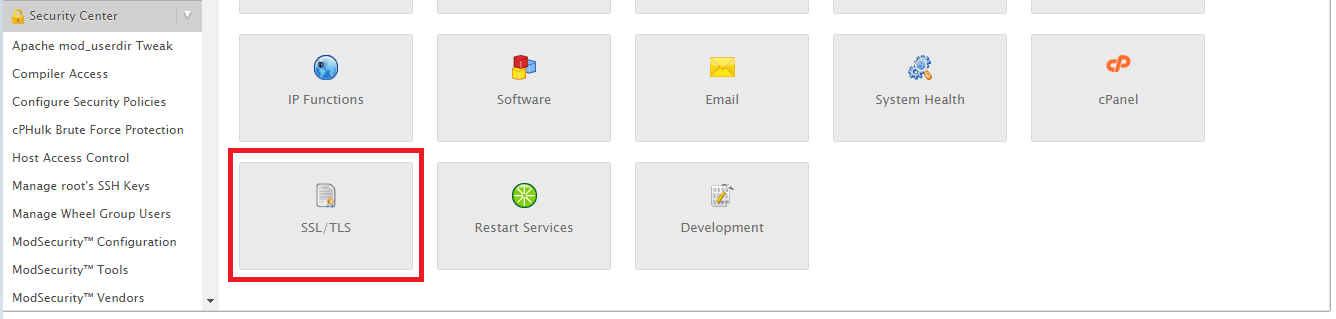
4. Click SSL/TLS
Click the SSL/TLS button.
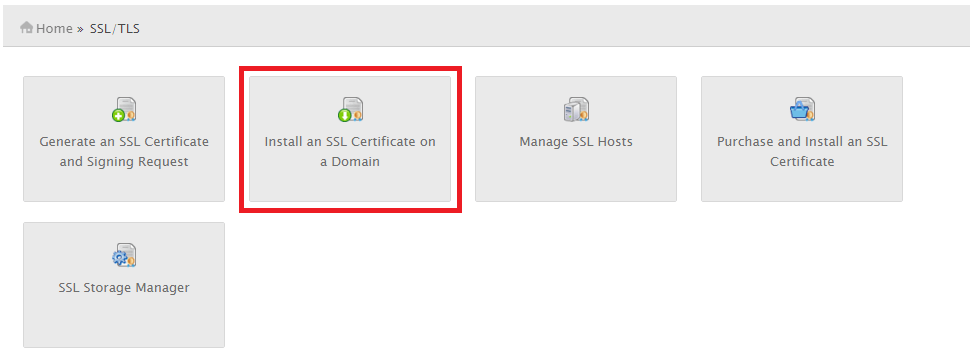
5. Click Install an SSL Certificate on a Domain
On your SSL/TLS Manager page, click Install an SSL Certificate on a Domain .
6. Type in your domain name
In the Domain field, type the domain name you want your SSL certificate to protect.
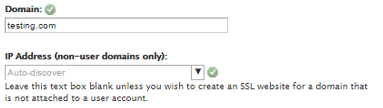
7. Paste in your certificate files
Copy and paste your certificate files into the matching text boxes.
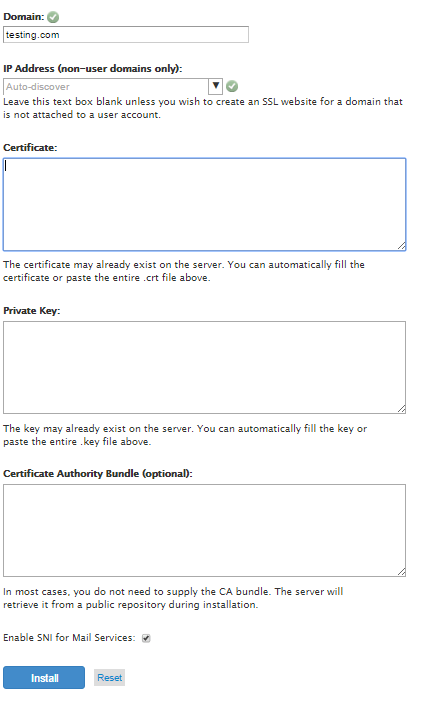
- Certificate : the server certificate issued for your domain or domains. Note 1: WHM should fill in the certificate text for you if you previously uploaded the server certificate and entered the right domain name above. Note 2: if the certificate arrived in a ZIP file, click "Extract all" and drag your server certificate into a plain text editor such as Notepad. That lets you copy all of the text, including "-----BEGIN CERTIFICATE-----" and "-----END CERTIFICATE-----".
- Private key : the private key created during generation. Note 1: WHM should fill in the private key for you if you previously created the certificate signing request under "Generate an SSL Certificate and Signing Request" in the SSL/TLS Manager and entered the right domain name above. Note 2: if you made the CSR and private key outside your WHM account and did not keep the files, you will not be able to continue and may need to reissue the SSL certificate with a freshly created key pair.
- Certificate authority bundle (optional) : your intermediate certificates, which are what let browsers and devices work out who issued your trusted certificate. Note 1: WHM fetches the CA bundle from a public repository automatically. If you did not keep these files, download the right CA or chain certificate for your certificate. Note 2 : if you have several intermediate certificates, paste them one after another to build the correct certificate chain.
8. Click Install
Once the certificate files are in the right boxes, click Install .
Note 1: you do not need to "Enable SNI for Mail Services". Server Name Indication (SNI) is only needed when several host names are served over HTTPS from the same IP address.
Note 2: you or your host may need to restart Apache before the certificate works.
That is it — your SSL certificate is installed. To check your work, open the site in your browser at https://yourdomain.tld and look at the certificate and site information to confirm HTTPS is working properly. Remember that you may need to restart your server before the changes take effect.
To check your installation properly, use our SSL Checker. If something does not add up, get in touch and we will look at it with you.
Installing the intermediate by hand
If the intermediate certificates were not installed and configured properly after the steps above, here is how to install them directly in Apache. If you do not have access to your Apache server, ask your host or system administrator for help.
1. Find the virtual host file
Find the virtual host file , usually at /etc/httpd/conf/httpd.conf. Note: the location and name of this file vary from server to server depending on the setup. Another common name is "ssl.conf".
2. Open the virtual host file
Find the virtual host block with the right name and IP address , including port 443.
3. Edit your virtual host
Edit your virtual host configuration by adding the YourIntermediateCertificate line shown below:
<VirtualHost 192.168.255.255:443>
  DocumentRoot /var/www/html2
  ServerName www.yourdomain.com
  SSLEngine on
  SSLCertificateFile /path/to/your_domain_name.crt
  SSLCertificateKeyFile /path/to/your_private.key
  SSLCertificateChainFile  /path/to/YourIntermediateCertificate.crt
</VirtualHost>
Note: make sure you write the correct path and filename for where you intend to save the intermediate certificates. Save them in the same directory where WHM keeps your server certificate and private key.
4. Save the changes
Save the configuration file.
5. Add the intermediate certificate
Put the intermediate certificate file in the same directory where WHM keeps your server certificate and private key.
6. Restart your server
Restart your Apache server.


