How to generate a CSR on Zimbra Mail Server
The instructions below walk you through generating a CSR on Zimbra Mail Server. For more on CSRs and why your private key matters, see our Certificate Signing Request overview. If you have already generated your CSR and received your trusted SSL certificate, see our SSL installation instructions and skip the steps below.
1. Log in to the Zimbra admin console in your browser
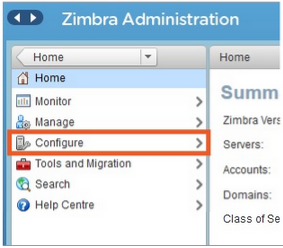
2. Click Configure
You will find it in the left-hand navigation panel.
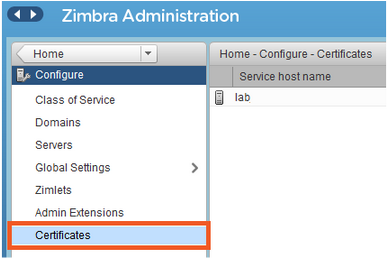
3. Click Certificates
4. Select Install Certificate
Near the top right of the console there is an option called Install Certificate. Click it.
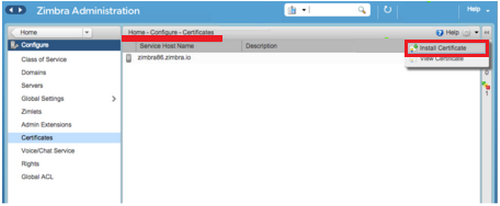
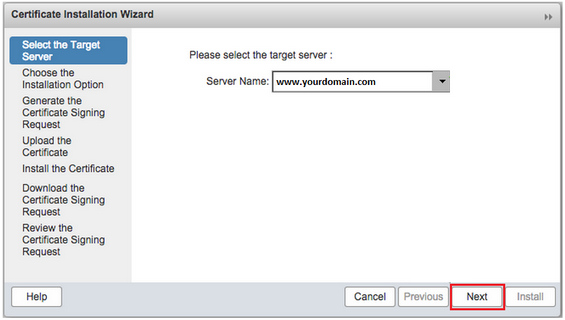
5. Choose your target server
The Certificate Installation Wizard opens. Choose your target server — the domain you want — and click Next.
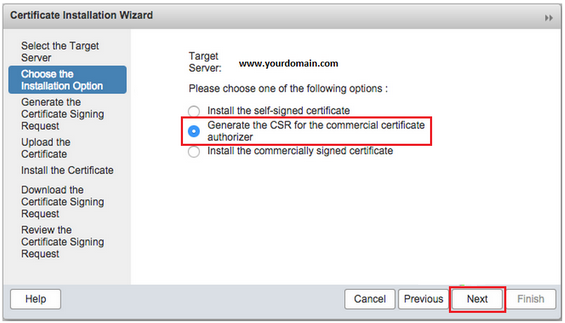
6. Generate the CSR
Choose the option that reads "Generate the CSR for a commercial certificate authorizer" and click Next.
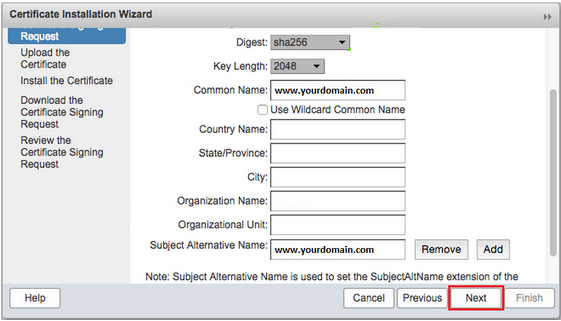
7. Enter the details for your CSR
Make sure everything you enter is exactly right. You need:
- Digest: sha256
- Key length: 2048
- Common name: yourdomain.com or www.yourdomain.com. Tick Use wildcard common name if you plan to buy a wildcard certificate.
- Country name: two-letter country code.
- State/Province: the full name of the state. For example, Florida.
- City: the full name of the city. For example, New York.
- Organisation name: the full name of your organisation, with no special characters. For an OV or EV certificate this has to be your organisation's legal name.
- Organisational unit: the department name, for example Marketing.
- Subject alternative name: do not enter SANs or additional domains in your CSR — the certificate authority will not accept them. All SANs go in during the order generation process, from your control panel on our website.
8. Check the details
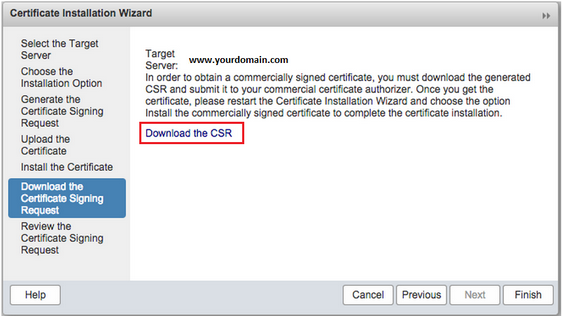
Confirm everything is correct and click Next.