


How to generate a CSR for Web Host Manager (WHM)
The instructions below walk you through generating a CSR in Web Host Manager (WHM). For more on CSRs and why your private key matters, see our Certificate Signing Request overview. If you have already generated the CSR and received your trusted SSL certificate, see our SSL installation instructions and skip the steps below.
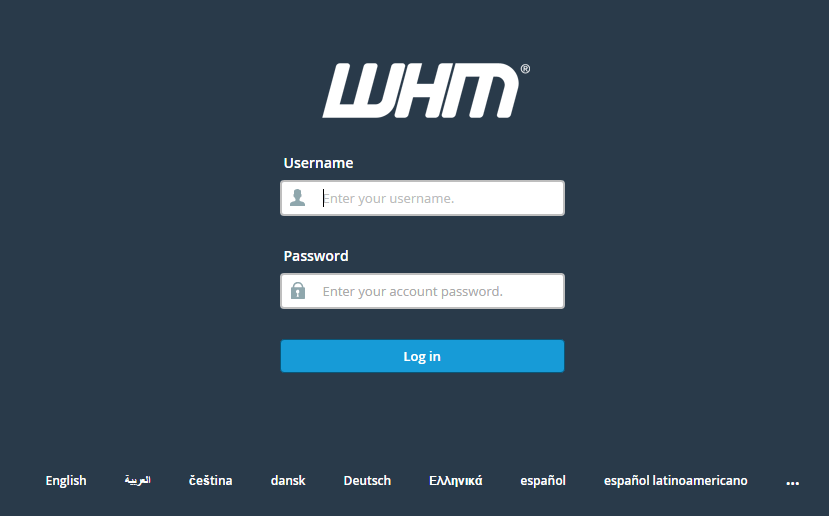
1. Log in to WHM
You can usually reach it at https://domain.com:2087.
Note: you may see "Your connection is not private", or something like it, when you open your WHM login page. That is because the login page uses a self-signed certificate by default. Ignore it and carry on past the warning.
Enter your username and password and click Log in .
2. Go to the SSL/TLS manager
Open your WHM home page.

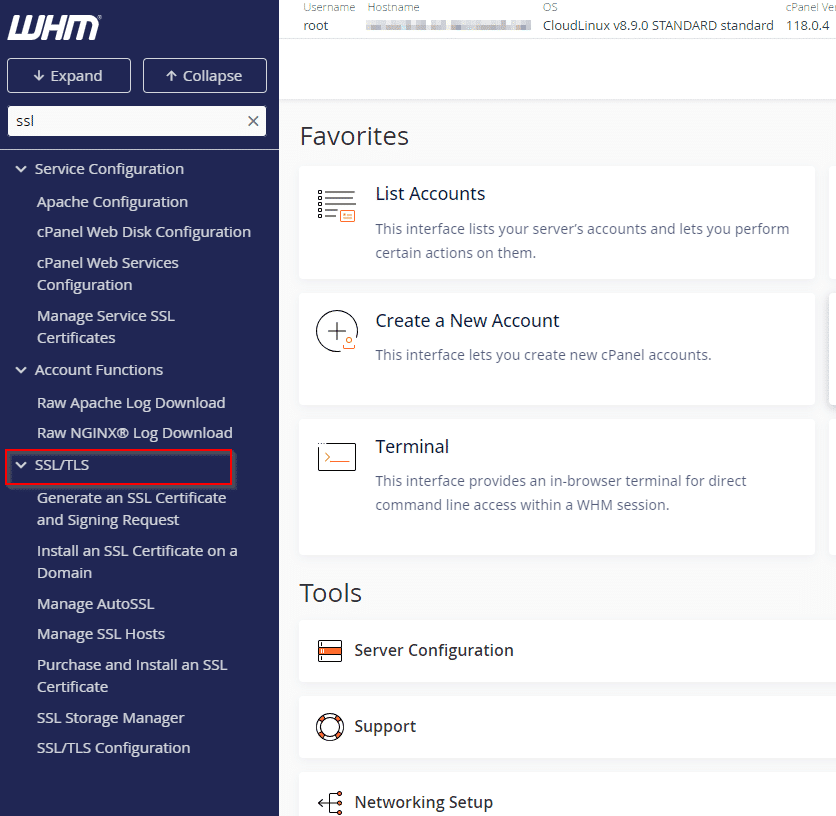
3. Select SSL/TLS
Click the SSL/TLS button.
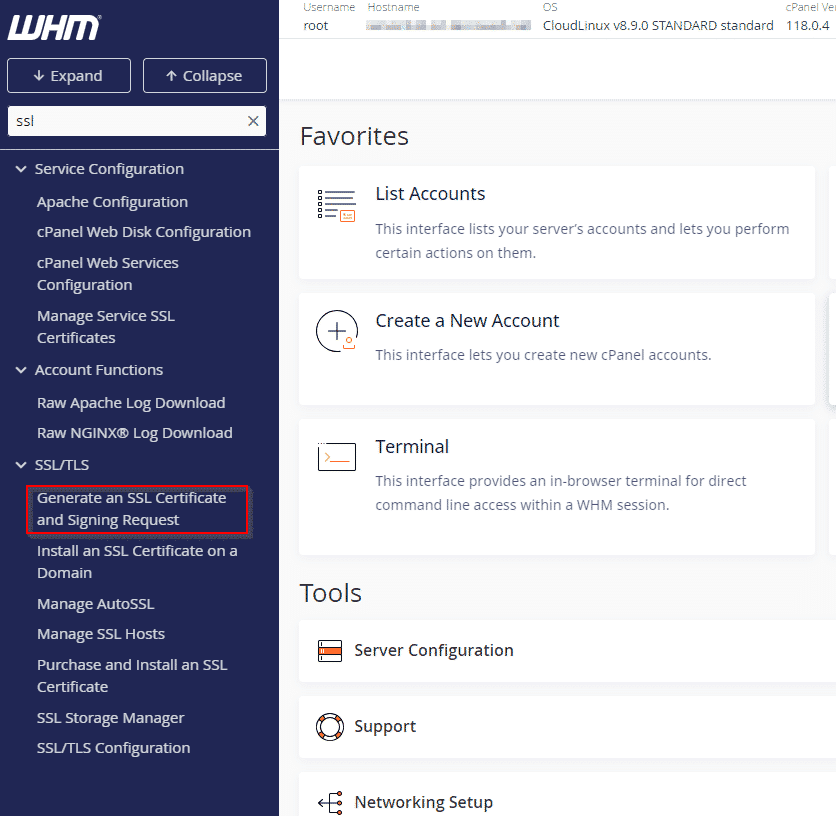
4. Select Generate an SSL Certificate and Signing Request
On your SSL/TLS Manager page, click Generate an SSL Certificate and Signing Request .
5. Fill in the request form and click Create
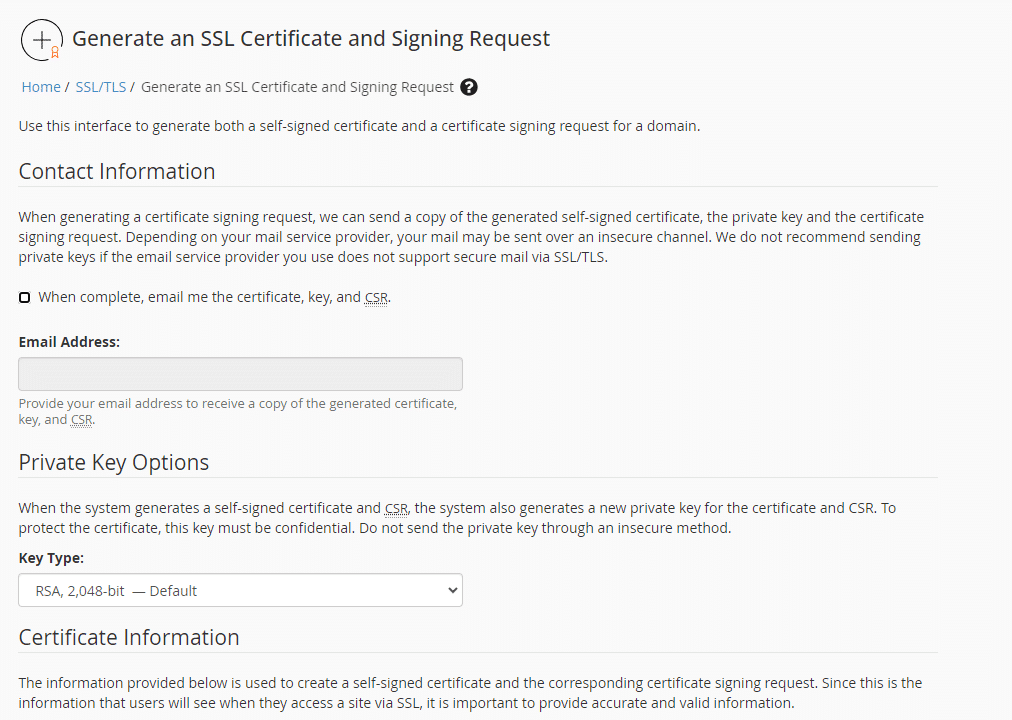
Note 1: we do not suggest emailing the private key over an insecure channel.
Note 2: by default WHM generates the matching private key for you if you choose "2048-bit (recommended)" as the key size. If you already have a private key you want to use, open the Key Size drop-down and choose the right option.
Note 3: to avoid the common mistakes people make filling in CSR details, see our Certificate Signing Request overview.
6. Generate your order
That is the CSR created, saved automatically in your user directory.
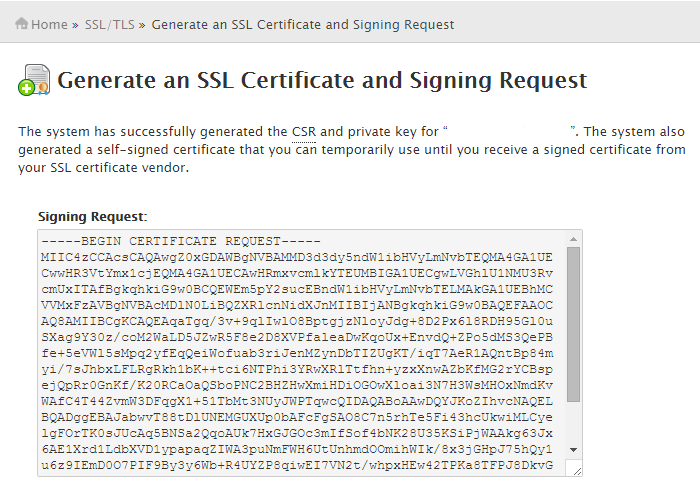
Click the Signing Request text box that appears after generation and copy all of the text, including:
-----BEGIN CERTIFICATE REQUEST-----
And
-----END CERTIFICATE REQUEST-----
Go back to the generation form on our website, paste the whole CSR into the empty text box and carry on through the generation process.
Once you generate your CSR, your order enters validation with the issuing certificate authority, which will ask whoever requested the certificate to complete some form of validation depending on the certificate purchased. For the different levels of validation and how to satisfy the industry requirements, see our validation articles.
After validation is complete and the certificate authority has issued your trusted SSL certificate, carry on with our Web Host Manager (WHM) SSL installation instructions.


